Wednesday, May 30, 2018


Friday, May 25, 2018


Thursday, May 17, 2018
Standby for an ongoing project
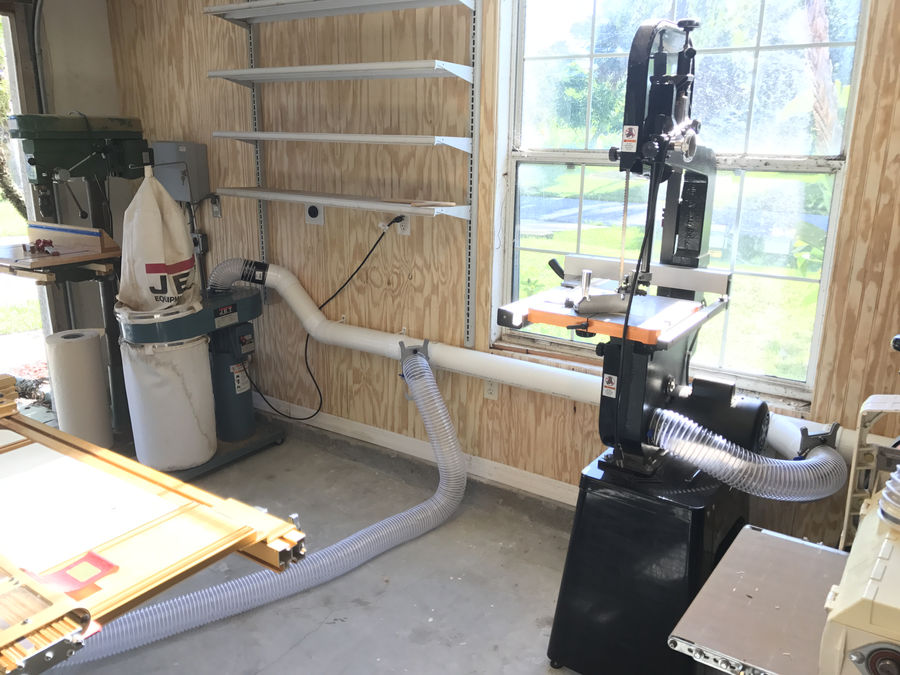
I finally had enough of the crappy lay out of my garage shop. One whole wall (the wall where my tools live, of course) featured one measly outlet and no dust collection save a tired shop vacuum. It's been a constant, annoying hassle to pull tools out, find an outlet/extension cord, pull out the shop vacuum, find another outlet, (preferably on a different breaker) move the one 4" to 2-1/2" hose adapter from the last tool I used, use tool, then do it all over again for the next tool. It really took me out of the zone of building. On top of that, I had an older dust collector I had gotten for free that was in a corner, unused, collecting dust in the wrong way. I had a little bit of extra money, and decided to solve my problems all at once.
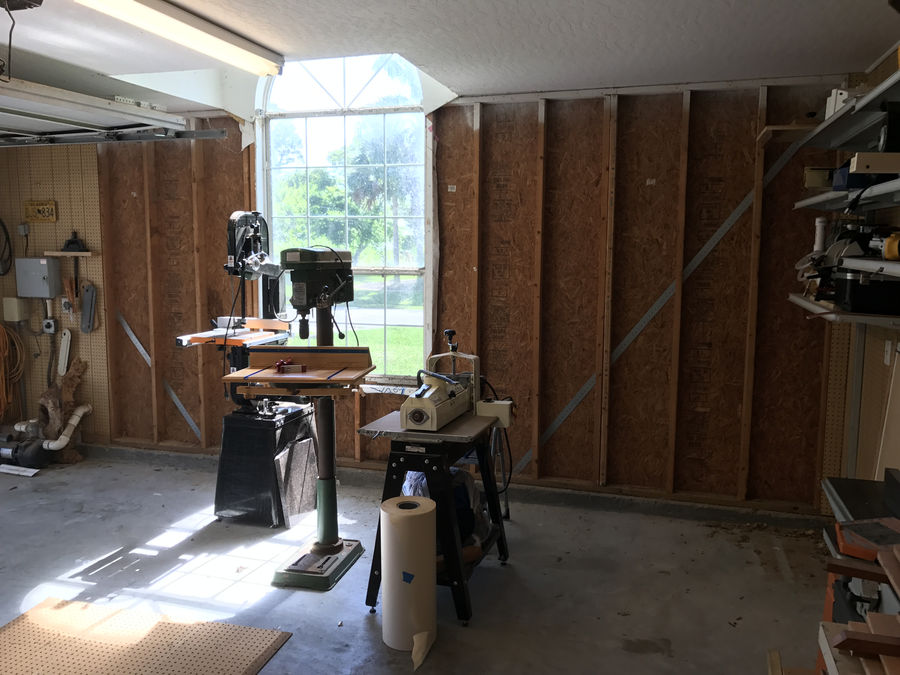
How it all looked in the beginning. The peg board was installed by the previous home owners. It can be helpful but can also be a pain in the butt when you go to pick up a tool and the hook comes too. Note the older Jet dust collector...collecting dust.
Since the peg board was easy to remove, it made running new electrical outlets quite easy. I installed 5 outlets on their own breaker and relocated the 220v outlet for my table saw. All done to code, even though I'm not an electrician.
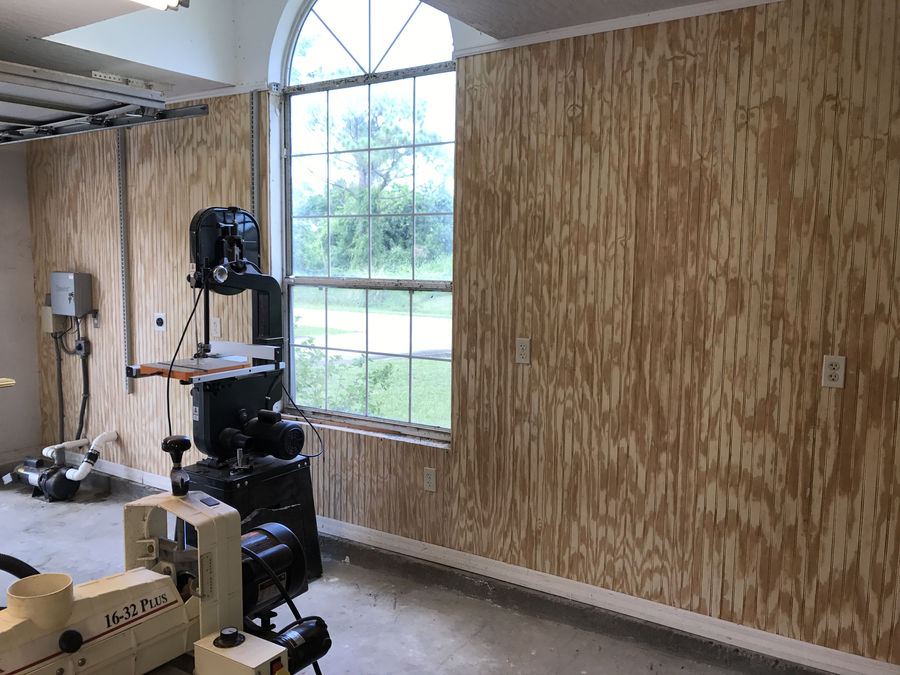
I had intended to just put the pegboard back up as it was but I kept having issues; outlet holes cut wrong, new nails pulling right through when I tried to take it back off, etc. I so went full bore and just decided to replace it all with T111. That wasn't available but some good 3/8" bead board was. Of course, that meant disconnecting the sprinkler pump and electronics. Weee, fun. However, it all got done.
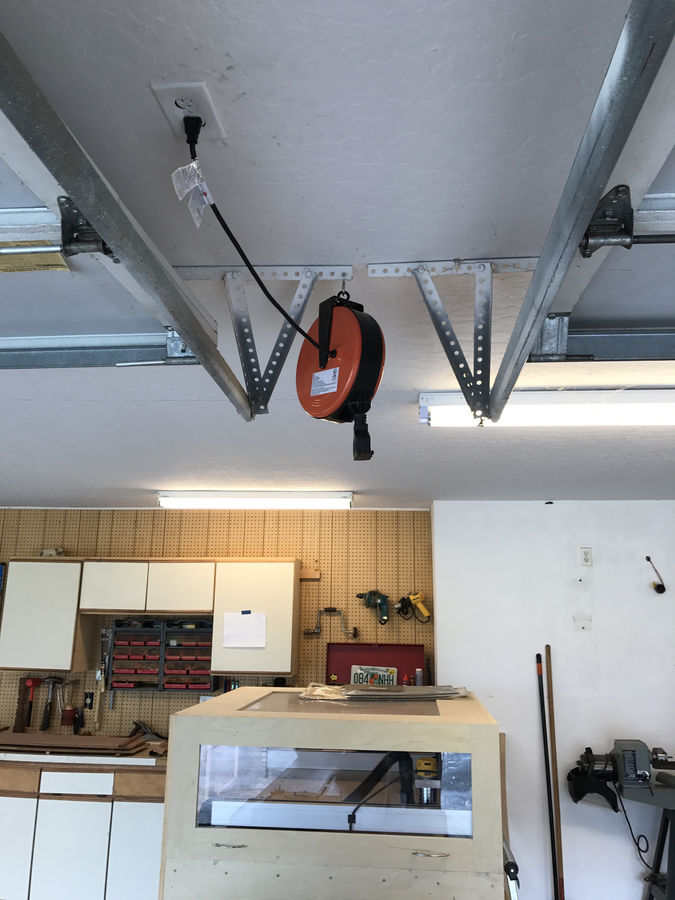
Since the wiring for the outlets ran right over my workbench area on its way to the breaker box, why not throw in a cord reel where it's most convenient?
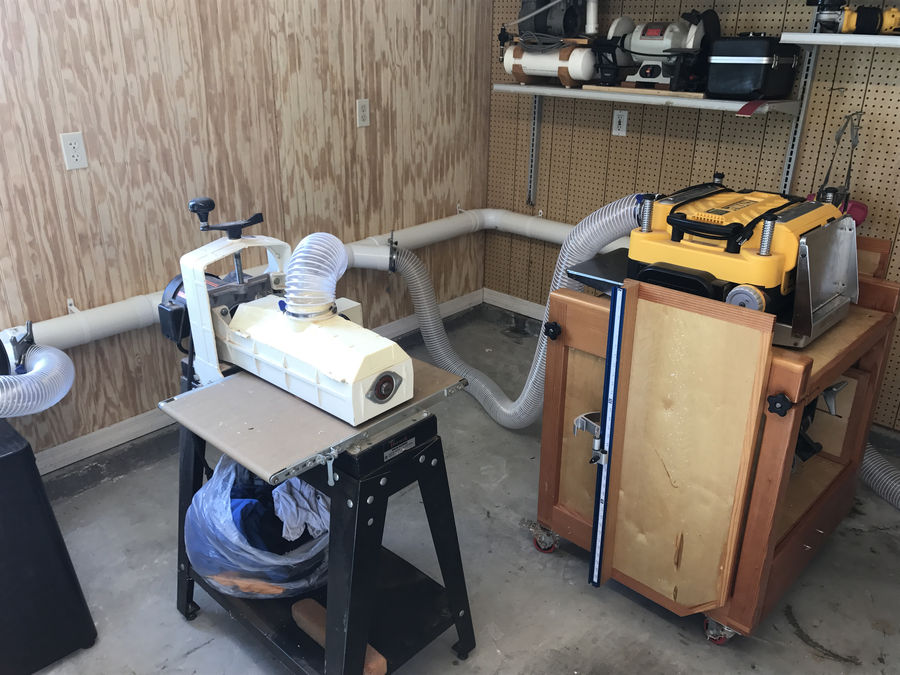
Dust collection finally installed.

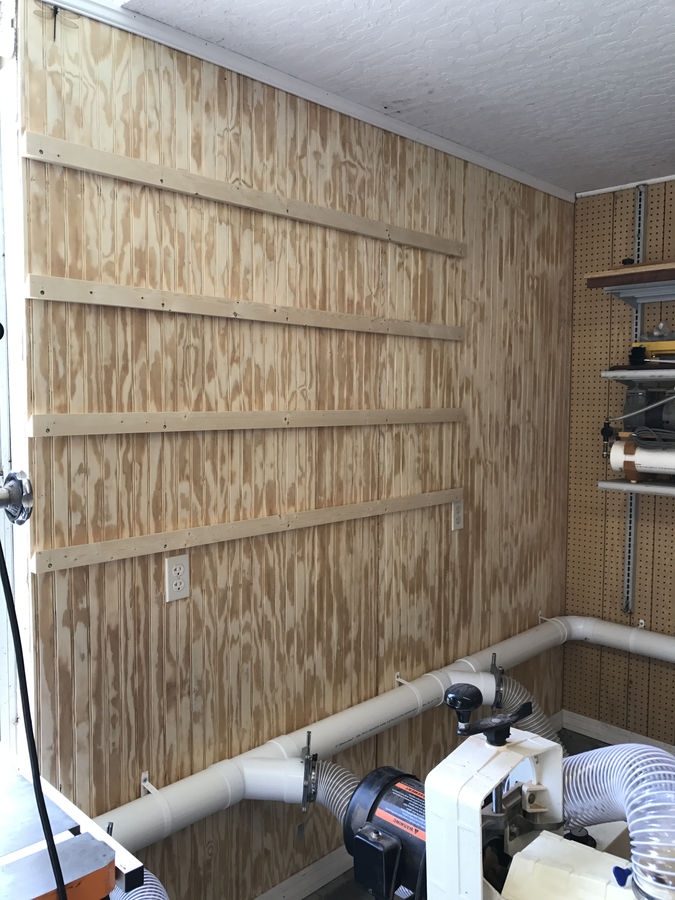
For now, things on the wall will go back where they were before but that will change in the next big shop upgrade, so I decided to put in french cleats so rearranging things would be easy in the future.
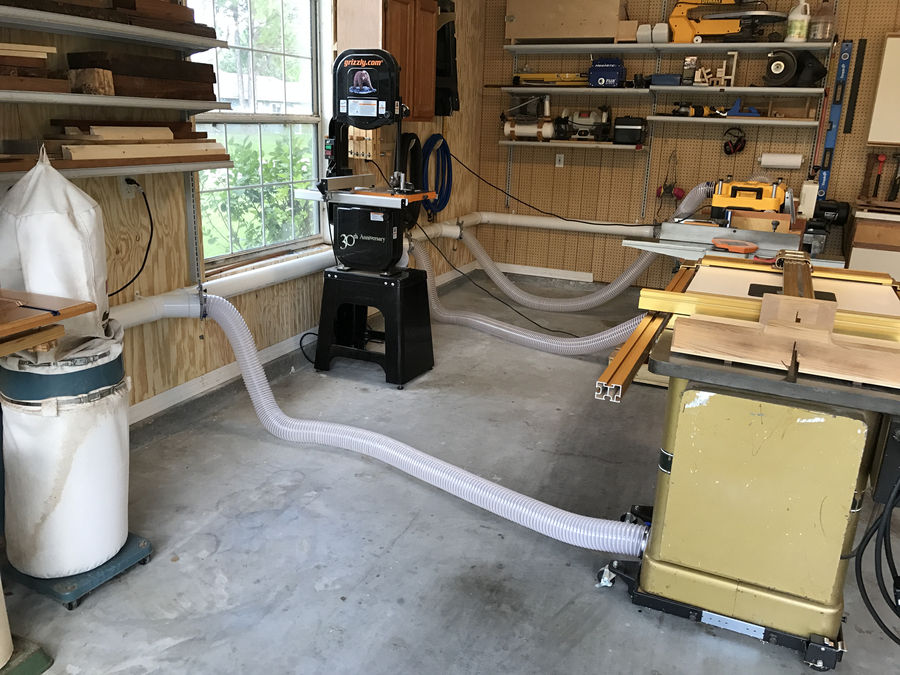
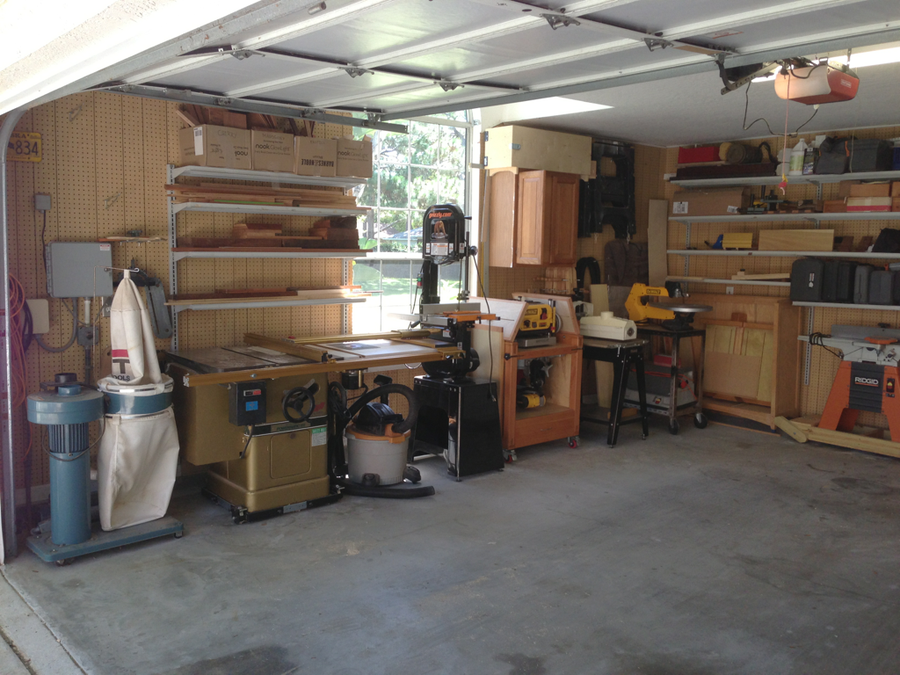
Some rearranging later and this is how it all sits. i can't even say how much this is going to improve workflow! everything just get's pulled out and flipped on. No moving, no plugging, no shop vac. So satisfying!
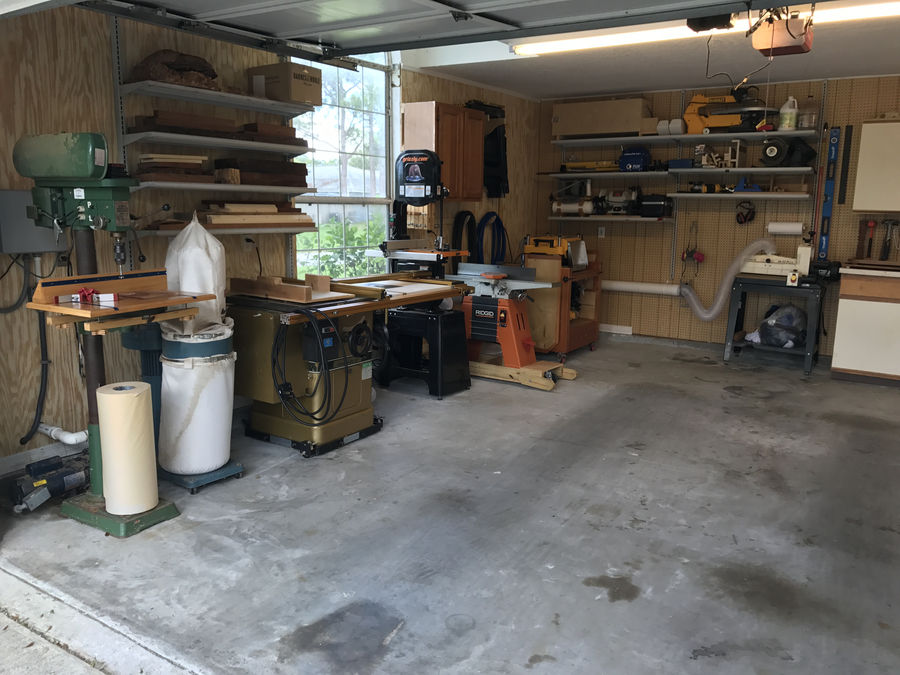
The new arrangement all together. The next phase will be wall-to-wall 42" cabinets on that back wall and the peg board replaced as well.
No wonder I can't get him on the phone
More of his projects
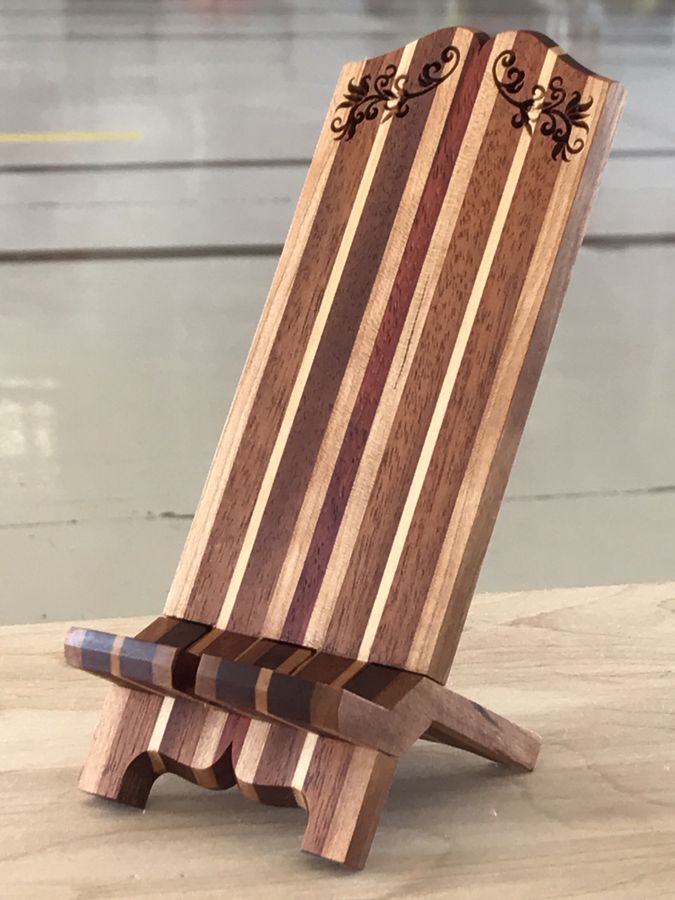


A few years ago, I adapted Roubo's bookstand as phone and tablet stands. Since then I've probably made a dozen or so as gifts for friends and family, all by hand. After one or two suitably un-subtle hints from the wife that she never got one for her night stand, I decided to make one for her upcoming birthday. The difference between this and the others was that I recently got a hobby-level CNC macine, so I decided to see how much I could automate. But fear not, traditional woodworking elitists! There's enough "real" woodworking hand work for you too. Enjoy, and let me now what you think!
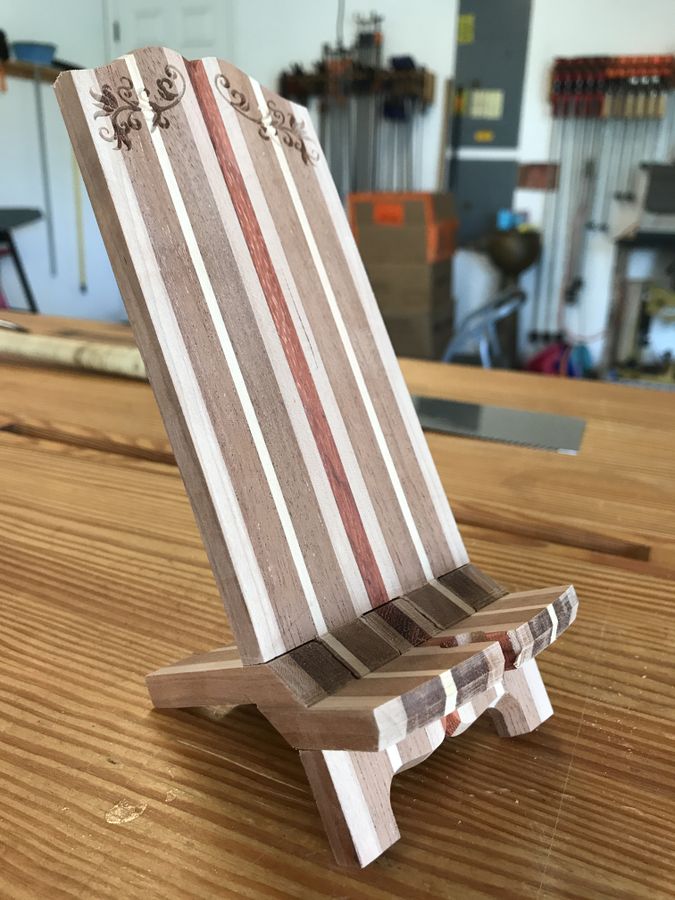
Let's start with the finished product, my beach chair,...uh, phone stand.
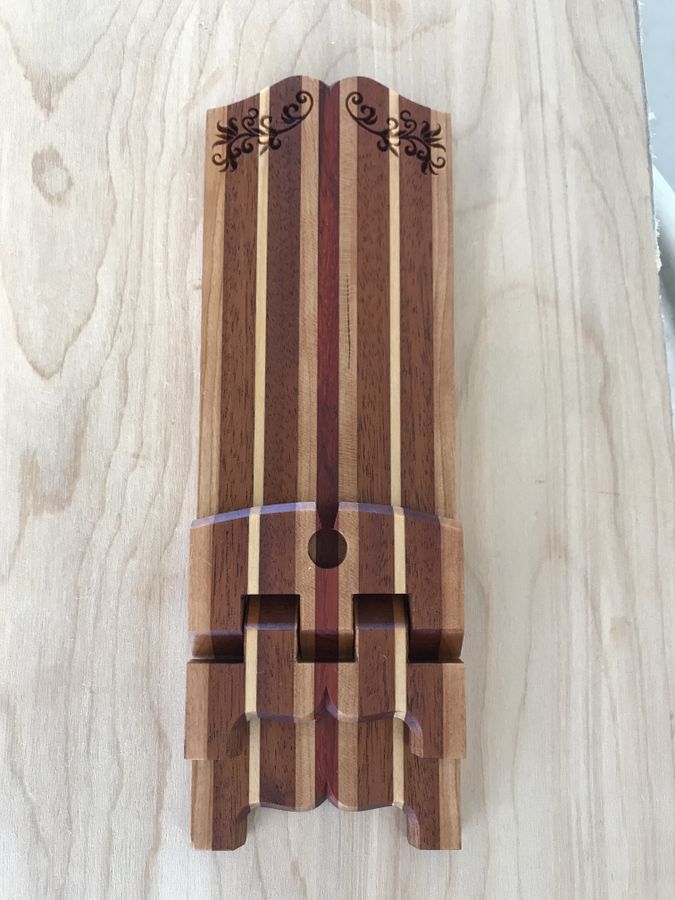
Laid flat
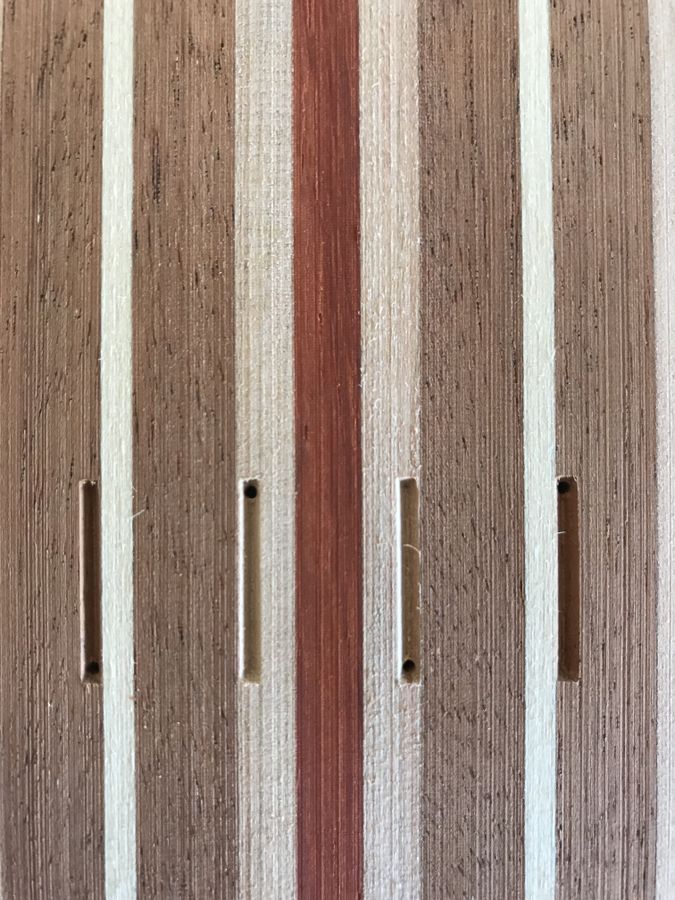
This is the blank I started with. The pieces to the left and right were scraps from a previous project, joined with a Paduak strip down the middle. Cherry, Mahogany, Basswood, and Paduak.
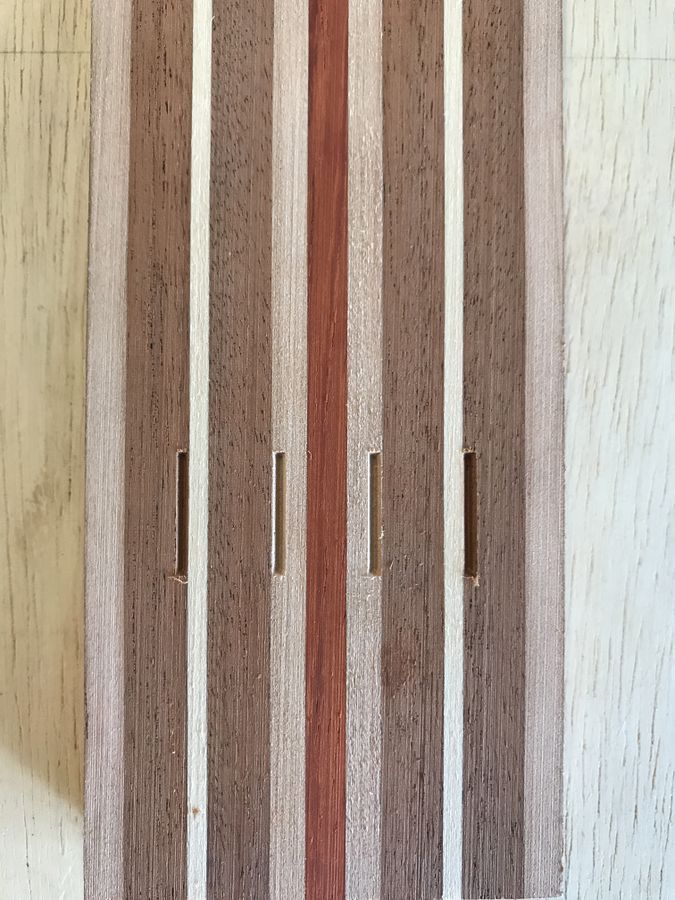
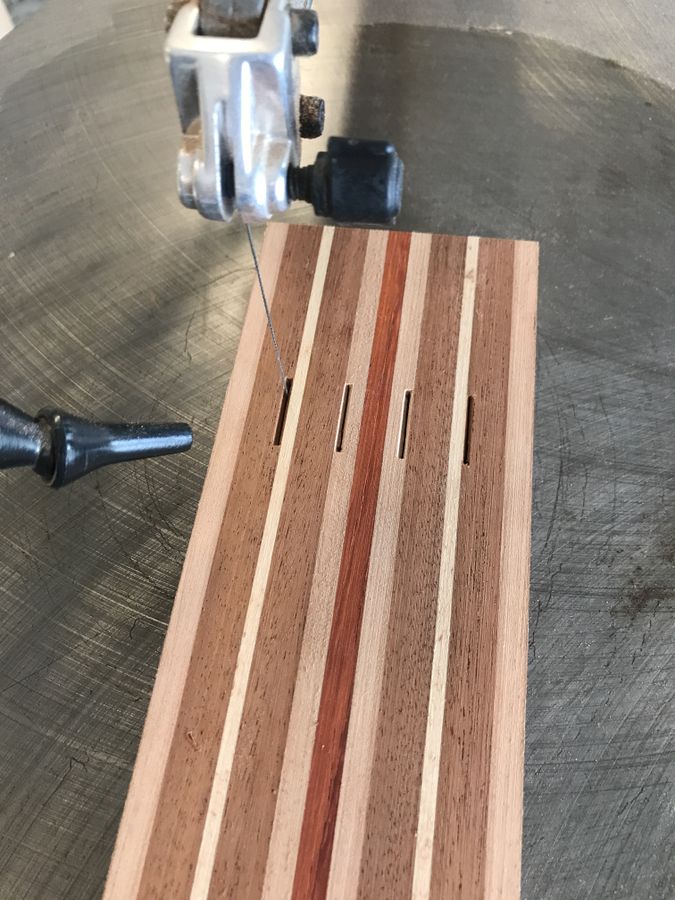
I scored the lines in between the hinge knuckles on both sides with the CNC first.
Then drilled the smallest hole I could manage through the ends of those score marks.
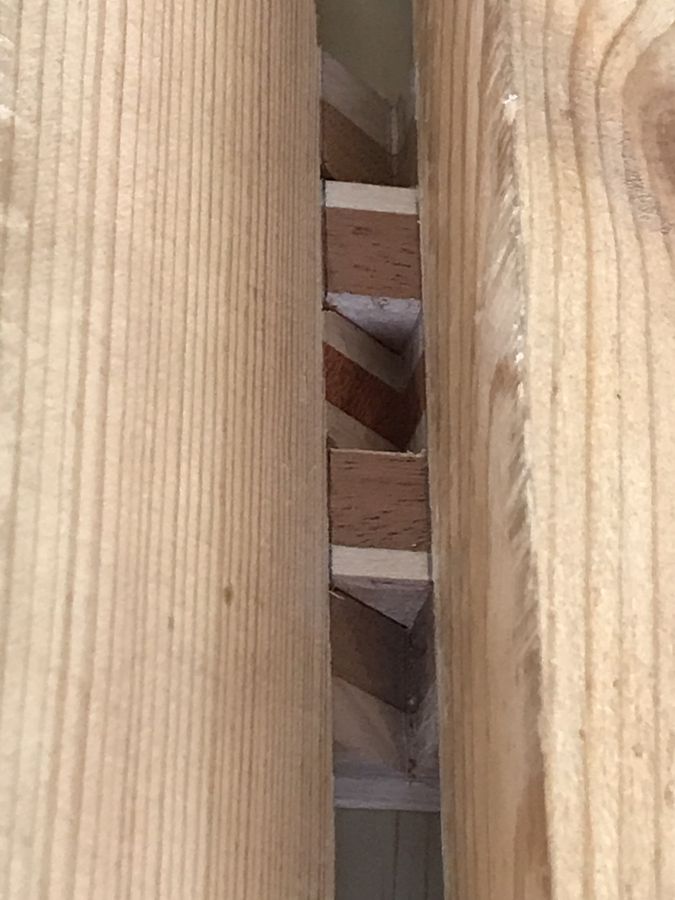
A scrollsaw was used to carefully cut between each knuckle.
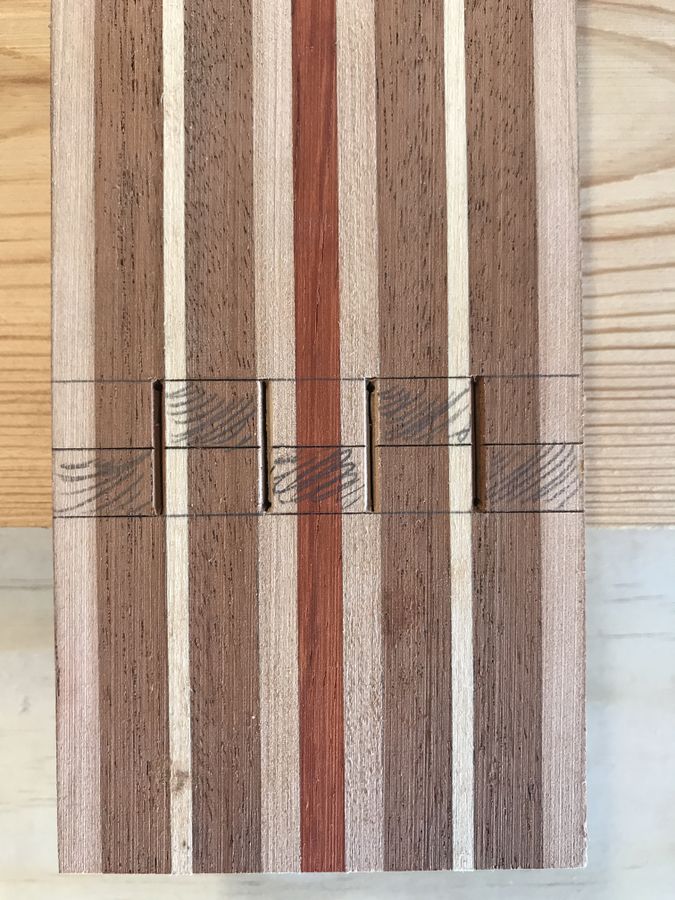
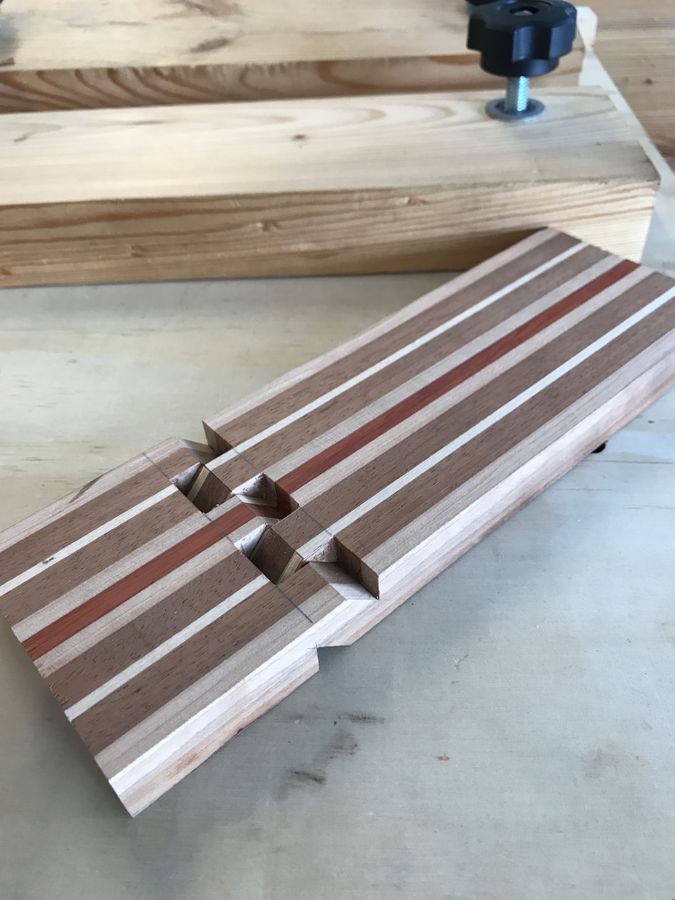
Cutting the hinge starts with good layout. I score each of the lines that will be cut so my chisel tip will rest precisely where I want it.
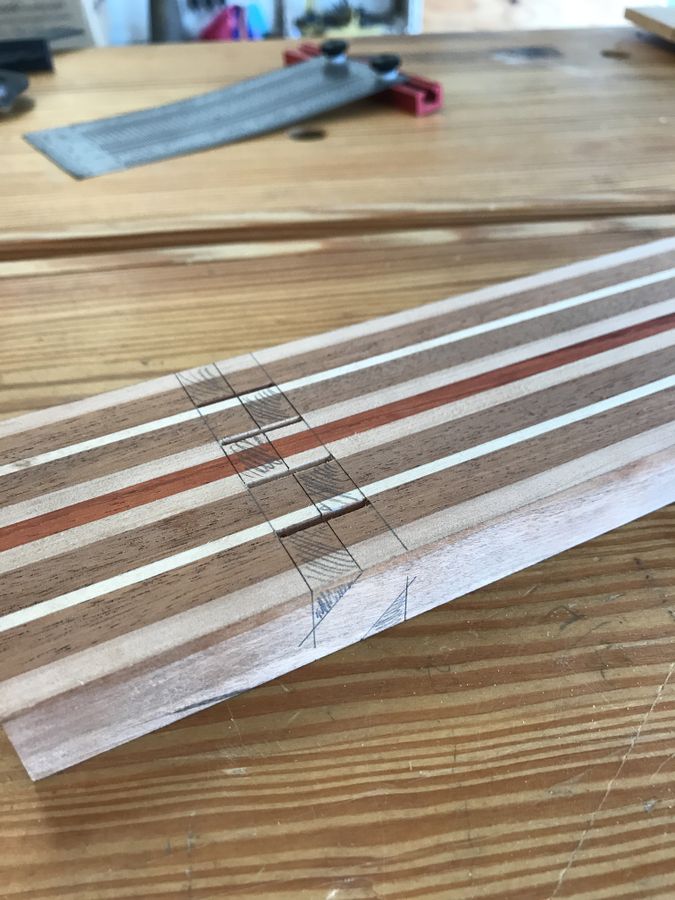
All layed out and ready to go.
When I first started making these, I made this jig to guide my chisels as I paired hinges. It's been an incredible help and allows me to make the hinge almost perfect.
A close up shot of the workpiece in the jig.
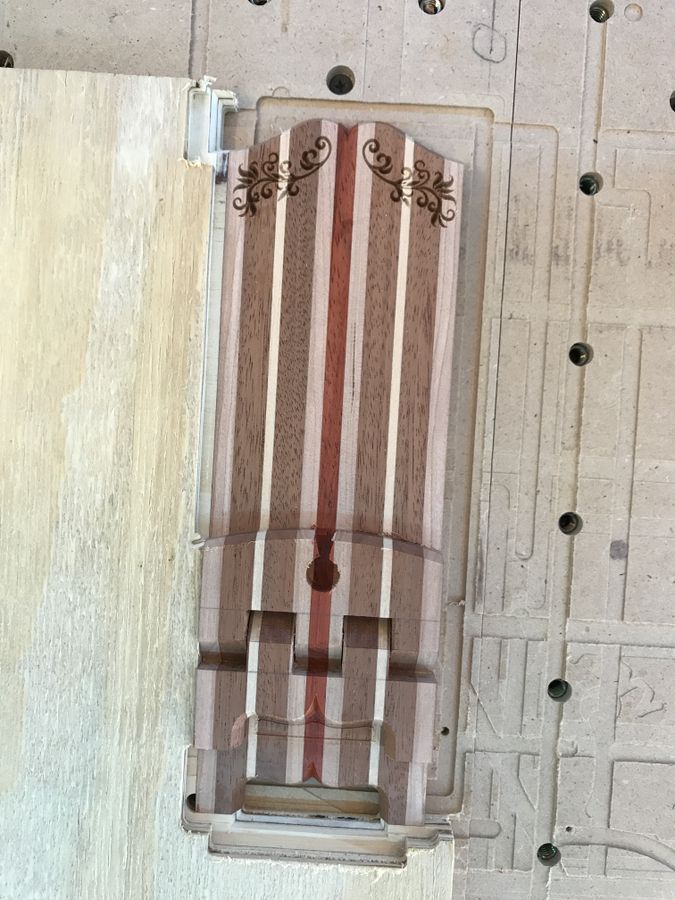
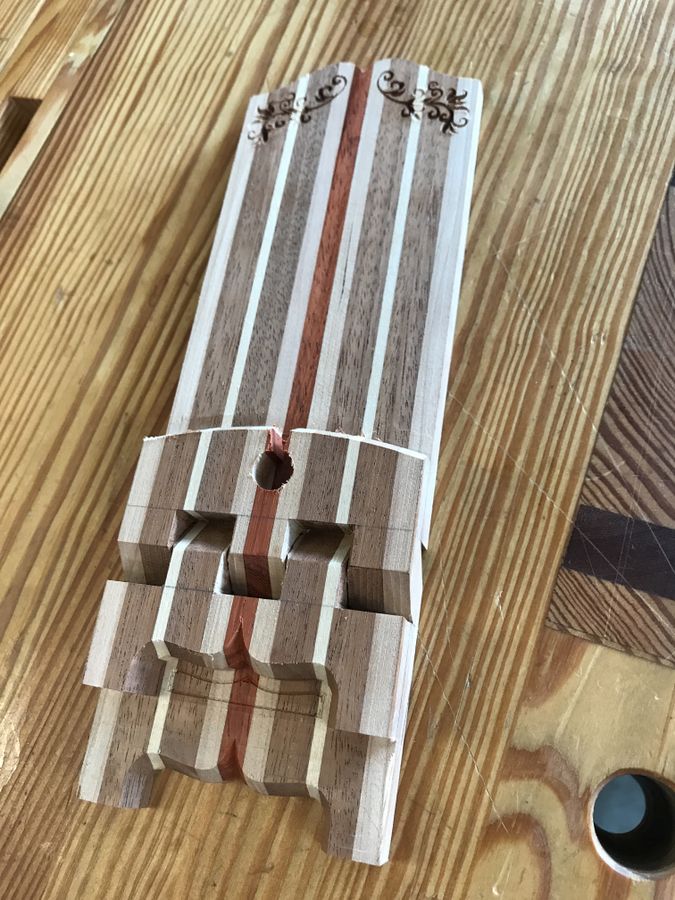
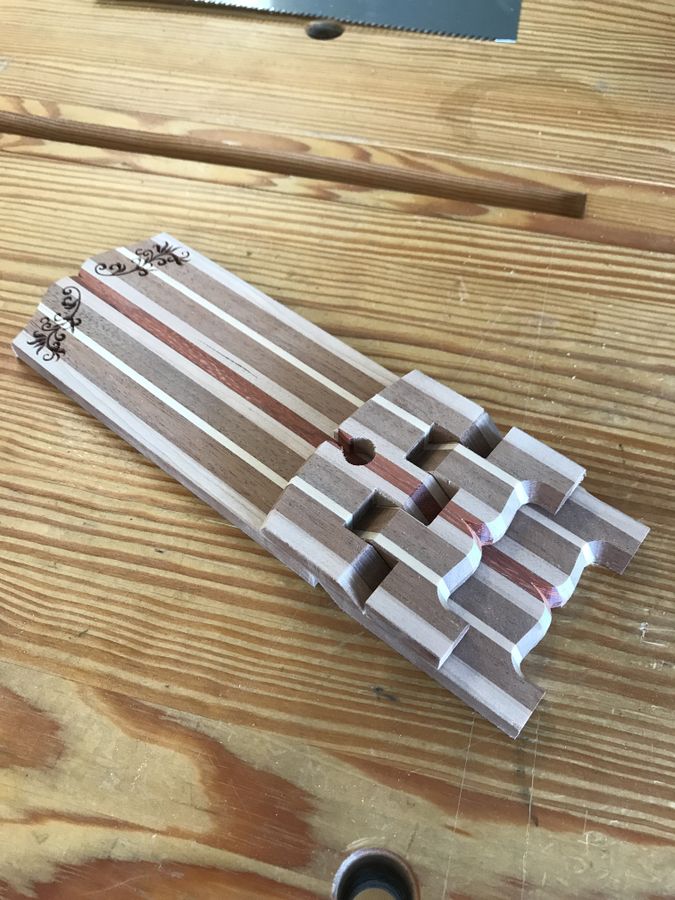
And the hinge is done. The rest of the big stuff is all the machine. Once the CNC is done with its portion of the show, a careful resaw down the middle will allow it to open and close.
How it looks right out of the box.
Lets get started on resawing and cleanup!
Since this is essentially the last step, I didn't want to take my chances at the bandsaw. Big mistakes can happen a lot quicker on a fast machine. Instead I opted for a ryoba with a fresh, sharp blade.
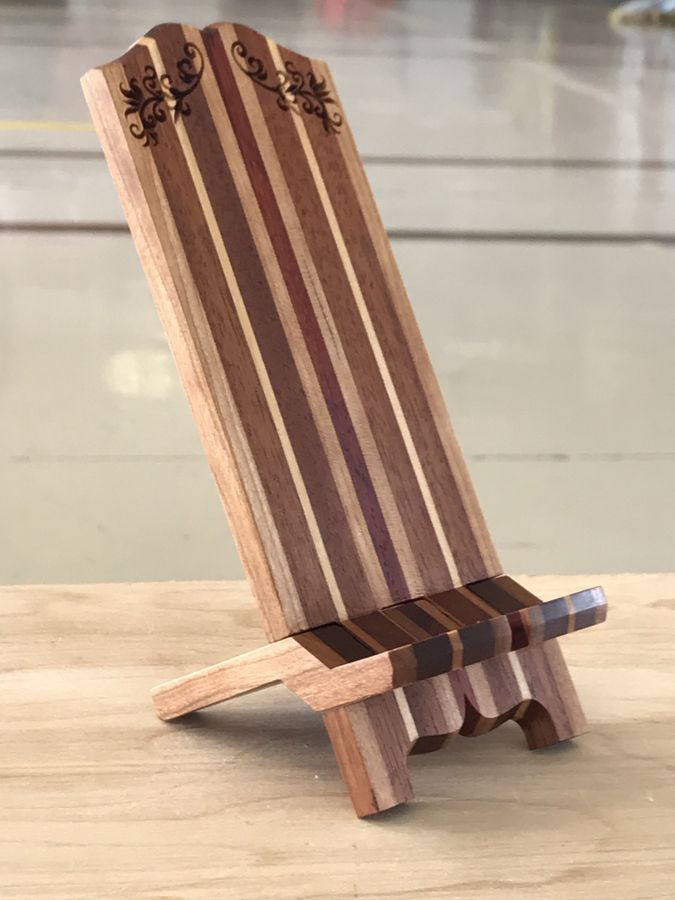
Viola, it stands! Just some sanding in the nooks and crannies and she's almost done!
More glamour shots. This is right after applying Watco Danish oil and wiping the excess off. In a few days I'll apply some Renaissance Paste Wax to give it a little more sheen and luster.
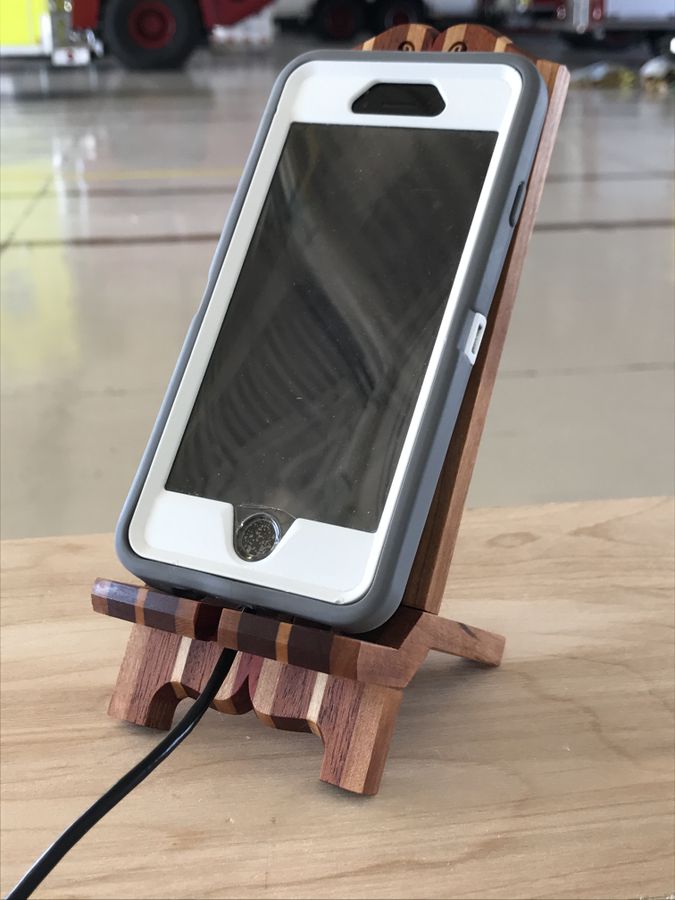
In action. Don't ask me how I took this photo...
Subscribe to:
Posts (Atom)