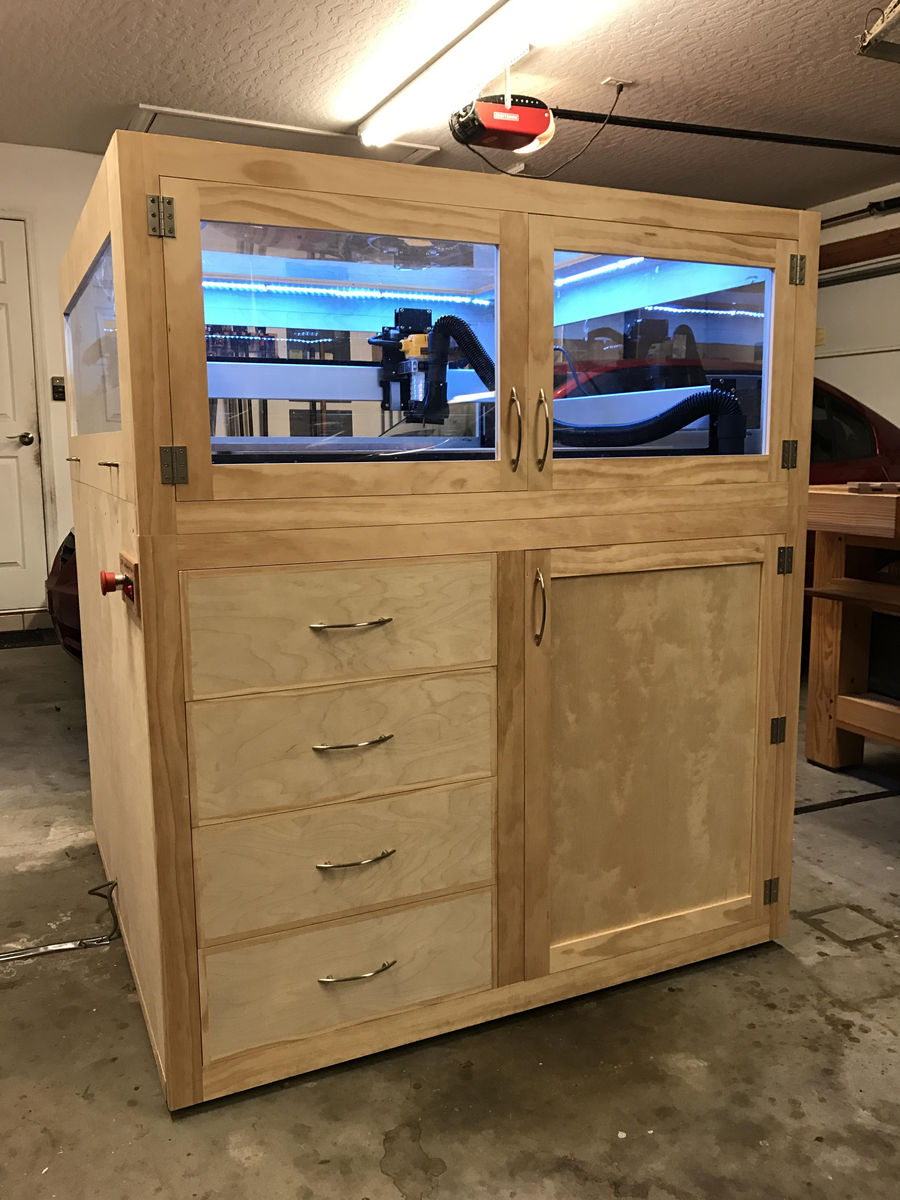
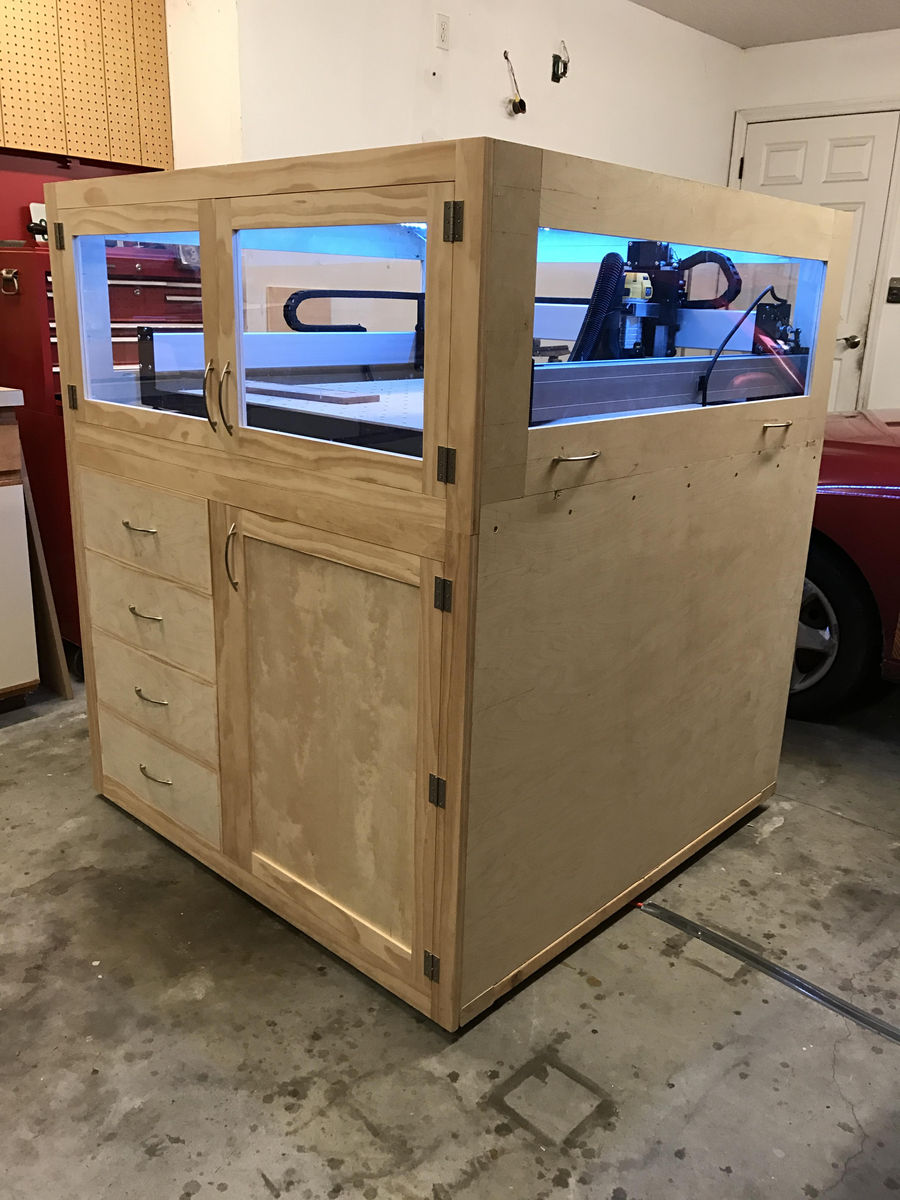
I recently added a hobby-level CNC to my little shop and it needed a new home...it got a luxury condo instead.

The finished product. It works well but I love that the "white" LEDs make it look more like an aquarium than a tool cabinet, a tool aquarium, if you will.


My sketchup drawing. The wheels inevitably got taken out as they just made the enclosure too high and hard to reach into.

A nice solid bed to start with. Someone informed me that I should have reoriented the pocket screws to go from the knee braces into the long rail. This is probably true but the cabinet box later gets screwed directly into the base, re-enforcing it.

A torsion box will make a nice stable and flat platform for the CNC to sit on.

When your help bails on you and you need to assemble some big pieces.

All together, now how do I get this thing down?

Starting to apply the pine face frame. You can see the rabbet that goes around the top edge. The removable top will sit on this and act as a dust seal.

A few steps later and we have a top!

Doors open on the front and back to allow a long work piece to over hang the ends of the machine if need be.

Bridle jointed cabinet doors. May be overkill but at least they'll last.


Doors and drawers installed.


This is where my laptop lives during jobs. the power and USB were a good idea but I've since learned that it's a PITA to use the laptop in here. I keep balancing it on the top edge and then putting it down in the drawer to close the left cabinet door. I have to devise a better system eventually.

All wiring is on the inside to keep it all nice and tidy.


Switches waiting for a nice labelled plate.

Dust collection

Assembly day!

First test, Hello World!

Surfacing my spoilboard.

My first functional piece.


My first experiments for an upcoming project. I'm really happy with it so far and it opens up a great number of new project ideas.

No comments:
Post a Comment